To improve product quality and streamline processes, manufacturers seek more effective methods of in-line color monitoring. In this application note, we discuss a versatile spectral system for non-contact color measurements.
Color is one of the first things we notice about an object. In industry, color is often considered an important element of quality. This compels manufacturers to seek the most effective methods to measure color quantitatively, to meet demanding design specifications.
Overall aesthetics are important, too, especially when products are assembled from multiple parts or viewed next to others on a shelf or under different lighting conditions. This can translate into perceived quality differences that give one manufacturer an edge versus its competitors. Beyond aesthetics, color is an important characteristic in applications as diverse as evaluating chemical reactions, ensuring food is safe to eat, and producing consistent safety signage and indicators.
Color Measurement
Measuring color is challenging, as the way we detect color is not directly related to easily quantified parameters such as light intensity. Accurate color measurement is significantly more complex than simply taking the red, green and blue channels from a color camera. Color is dependent on the sample, on calibrating the setup for the illuminant and detector being used, and on subjective human perception. Also, measurement geometry is critical for compliance with international standards and to ensure consistency across sites. Each of these elements involves many subtleties that are critical in producing accurate, repeatable results.
Spectroscopy is an excellent method for measuring the nuances of color. For example, unlike a single-wavelength device, a spectrophotometer captures the full color spectrum at very high resolution, allowing for careful, detailed analysis of data. This provides a degree of flexibility not available using other color measurement methods.
FD-D8R Color Inspection System
The FD-D8R is an advanced spectrophotometer designed for in-line color measurement applications. It incorporates multiple miniaturized spectrometers to provide both Specular Component Included (SCI) and Specular Component Excluded (SCE) reflectance measurements. (To the uninitiated, specular reflection is what you see from a shiny or glossy surface, where light is reflected from the object in a single direction.)
Notably, the FD-D8R can perform specular reflectance included and excluded measurements simultaneously and at the same point in space, whereas other sensors typically require moving parts and multiple readings to accomplish this, adding to cycle time and system complexity. This makes the FD-D8R both fast and flexible across different types of surfaces.

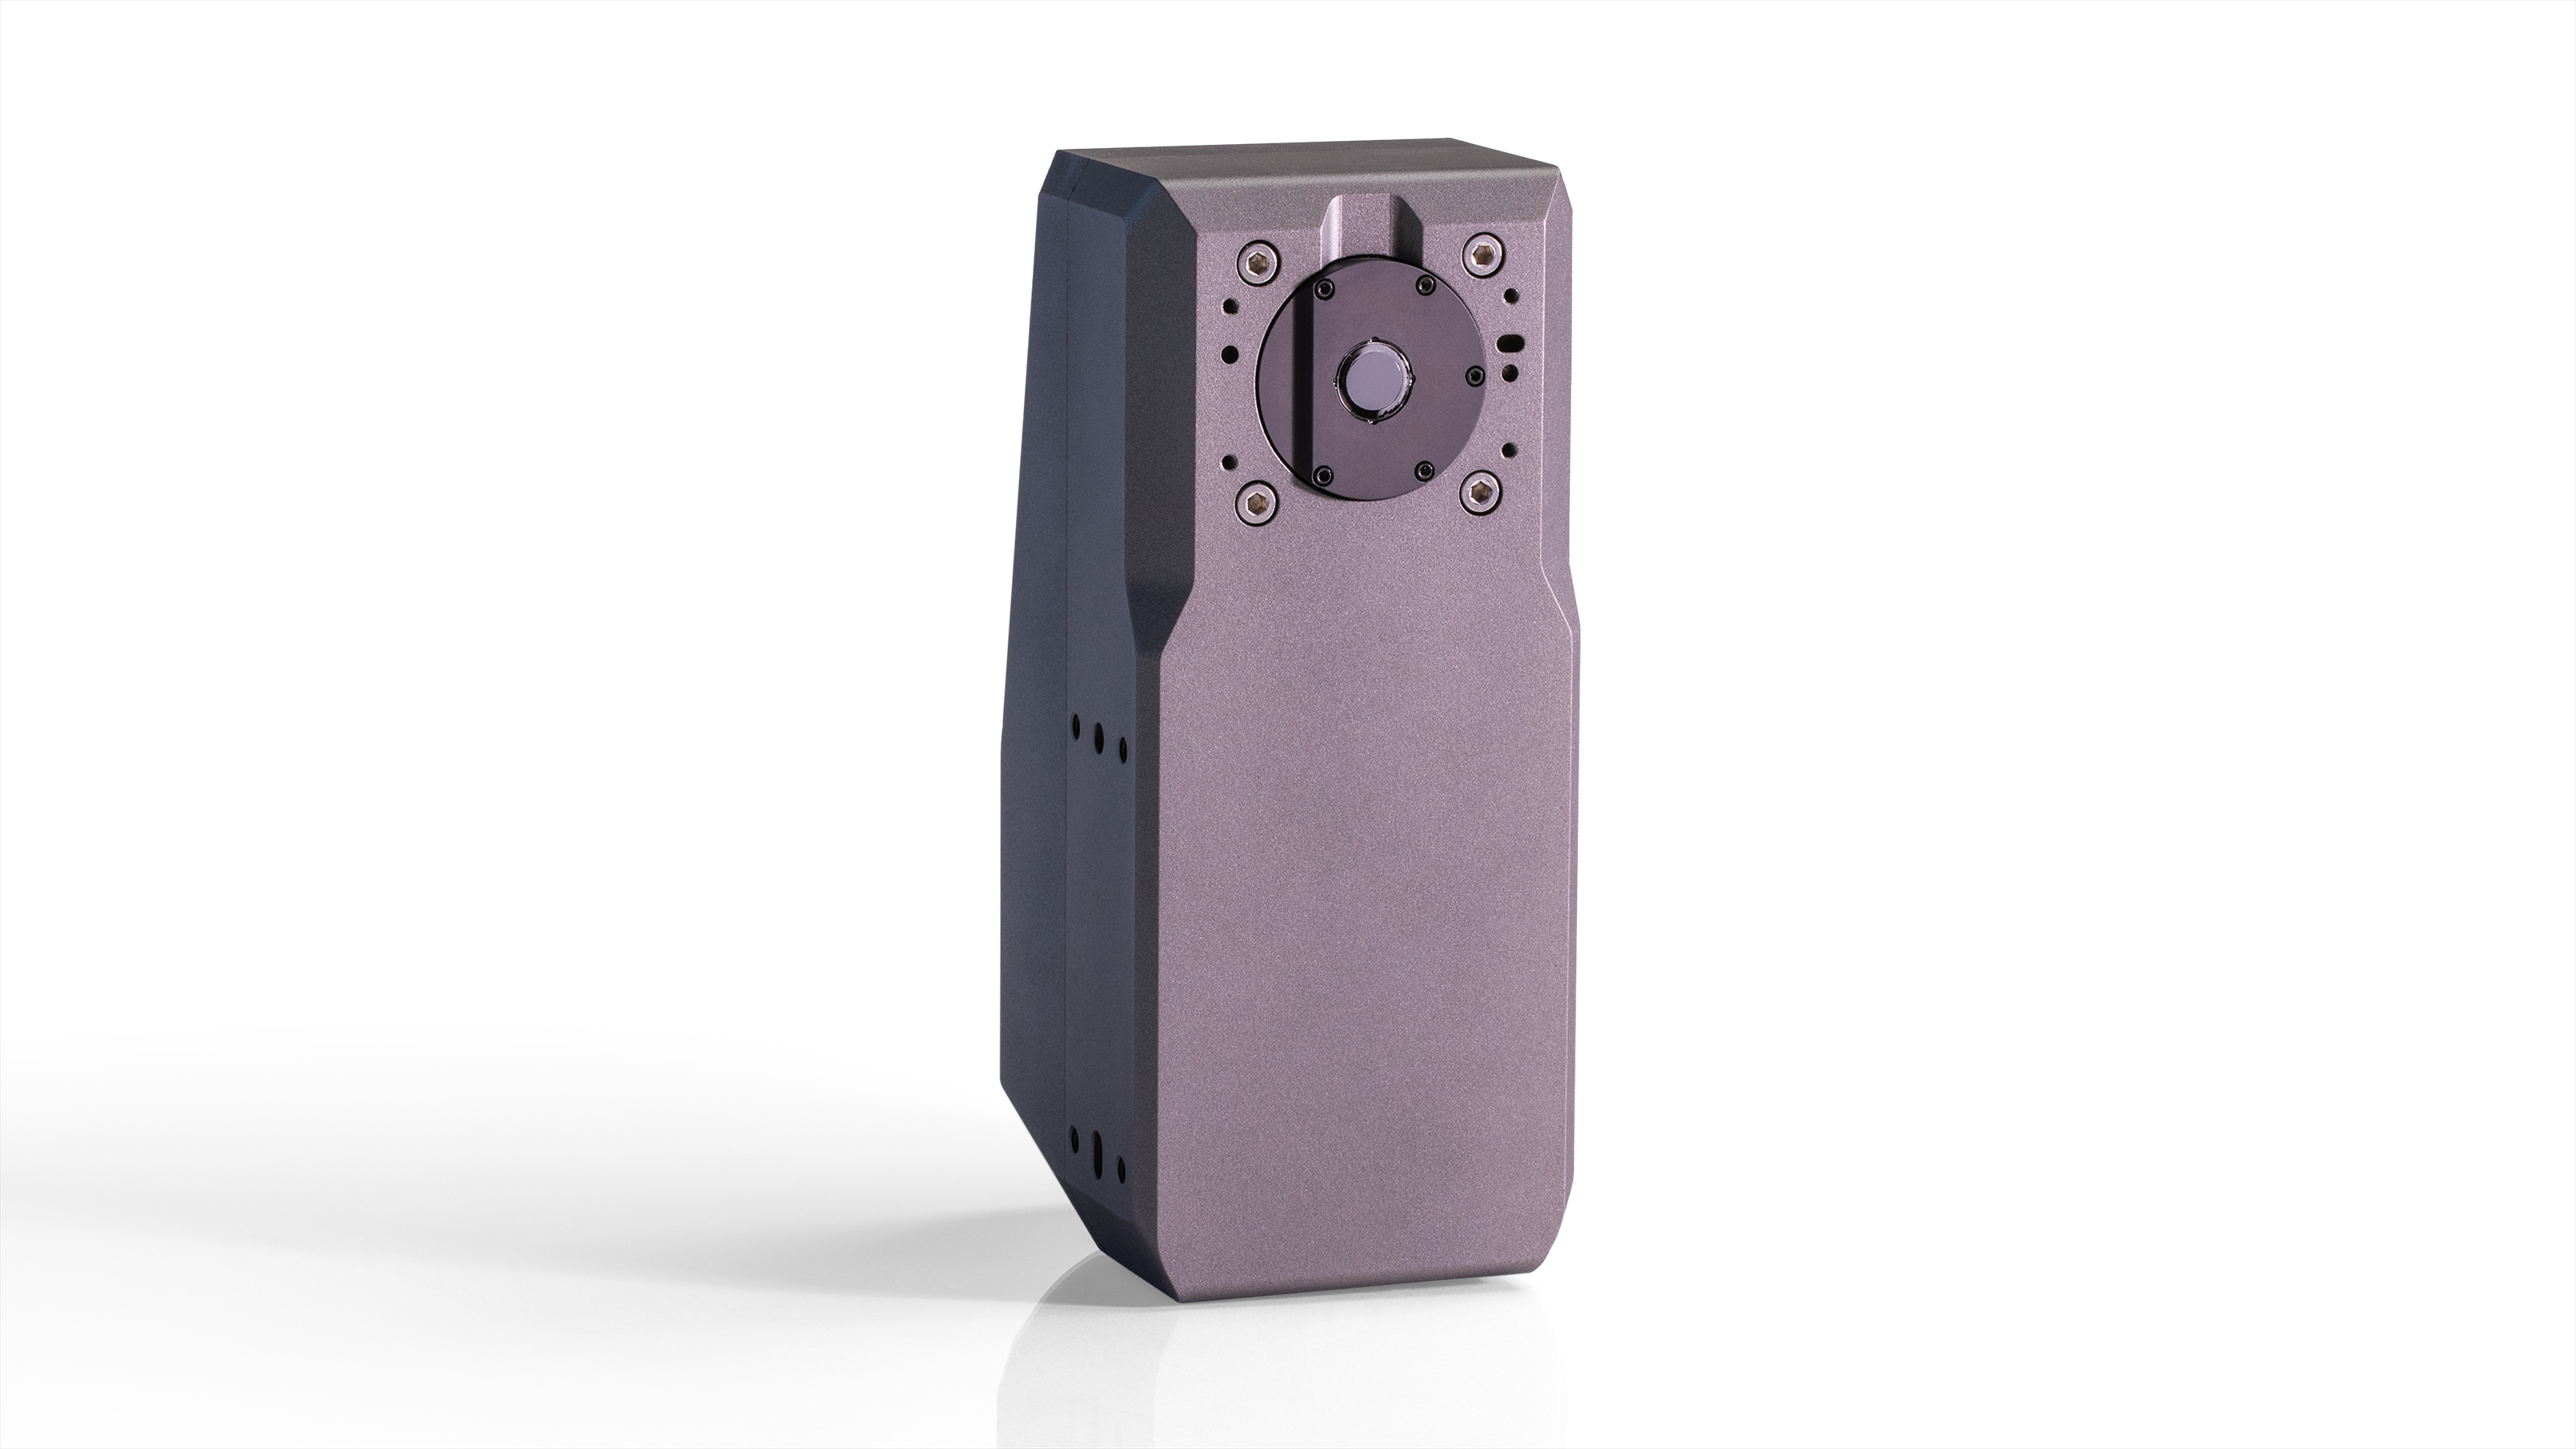
Figure 1. The FD-D8R color inspection system is compact and lightweight, yet rugged enough for industrial environments.
The FD-D8R sensor (Figure 1) includes illumination, detectors, control electronics and software, all integrated into a miniaturized, rugged package that transforms “raw” spectral measurements (i.e., without adjustments, calibration or other normalization) to the answers customers seek (e.g., pass-fail color standards). The system can be further customized to different color metrology requirements.

Figure 2: By attaching the FD-D8R color inspection system to a robot arm, the sensor can be positioned to measure color from hard to reach surfaces.
The FD-D8R’s rugged design ensures its suitability for industrial environments. Its built-in integrating sphere is sealed against water and chemical intrusion using a replaceable, cleanable sapphire window. The small-footprint sensor head can fit easily on an assembly line and measures small or hard to reach parts. FD-D8R is also light enough that it can be mounted easily on stages (fixtures) or robots (Figure 2).
FD-D8R Operation
The FD-D8R sensor head is coupled to a control module via a single, high-flex cable, rather than fiber optic cabling sensitive to bend radius. Most important, its measurements are non-contact, meaning the sensor head can take measurements up to 2 mm distance from the sample. This prevents damage to, or marring of the sample from the sensor touching it. This closed-sphere, non-contact design enables laboratory-grade measurements in a factory environment.
The FD-D8R sensor package operates via software that’s designed with automation as its focus. The sensor interfaces via USB with a computer, on which a TCP/IP server provides connectivity to the customer’s software or PLC. A complete measurement, including illumination/integration, readout, and all calculations, can be performed in under 100 milliseconds. This means the FD-D8R is a true in-line solution that enables throughput of hundreds of thousands of parts per day, making 100% inspection possible. Also, the FD-D8R correlates very well with existing benchtop laboratory instruments, ensuring that tolerances will be matched across lines and sites.
Ocean Optics and Industrial Sensing
Ocean Optics serves industry by supplying optical sensing components, subassemblies, handheld and turnkey systems in volume. Our technologies, ability to engineer complex solutions, and experience in applying spectral knowledge to solve measurement challenges are uniquely placed to deliver custom solutions from prototype to mass production.
